How-To set the IP number of the Archon controller
Archon.pdf, page 30:
By default, the controller listens for a TCP/IP connection at address
10.0.0.2 on port 4242 (the host is usually set to 10.0.0.1).
To change the IP address, connect to Archon using the GUI.
Set the new, desired IP address at the bottom left of the System tab
and click "Apply Network Configuration" (there will be error messages
because Archon is no longer responding on the old address).
Click Disconnect, change the Archon IP address at the top left to
the new address, and click Connect.
Select System- >Flash Active Config to make this change permanent.
Both Archon controllers are currently programmed to use IP address
10.7.1.169. For proper operation at LCO we need to re-program the
IP numbers to:
#0048: 200.28.147.191
#0125: 200.28.147.192
- Connect the Archon directly to your laptop via an ethernet cable
(Gigabit required).
- Make sure the WiFi connection is disabled.
- Set the IP number of your laptop to 10.7.1.160 and press the Apply button.
 click on the image for a larger version
 - Open the archongui and select the System tab.
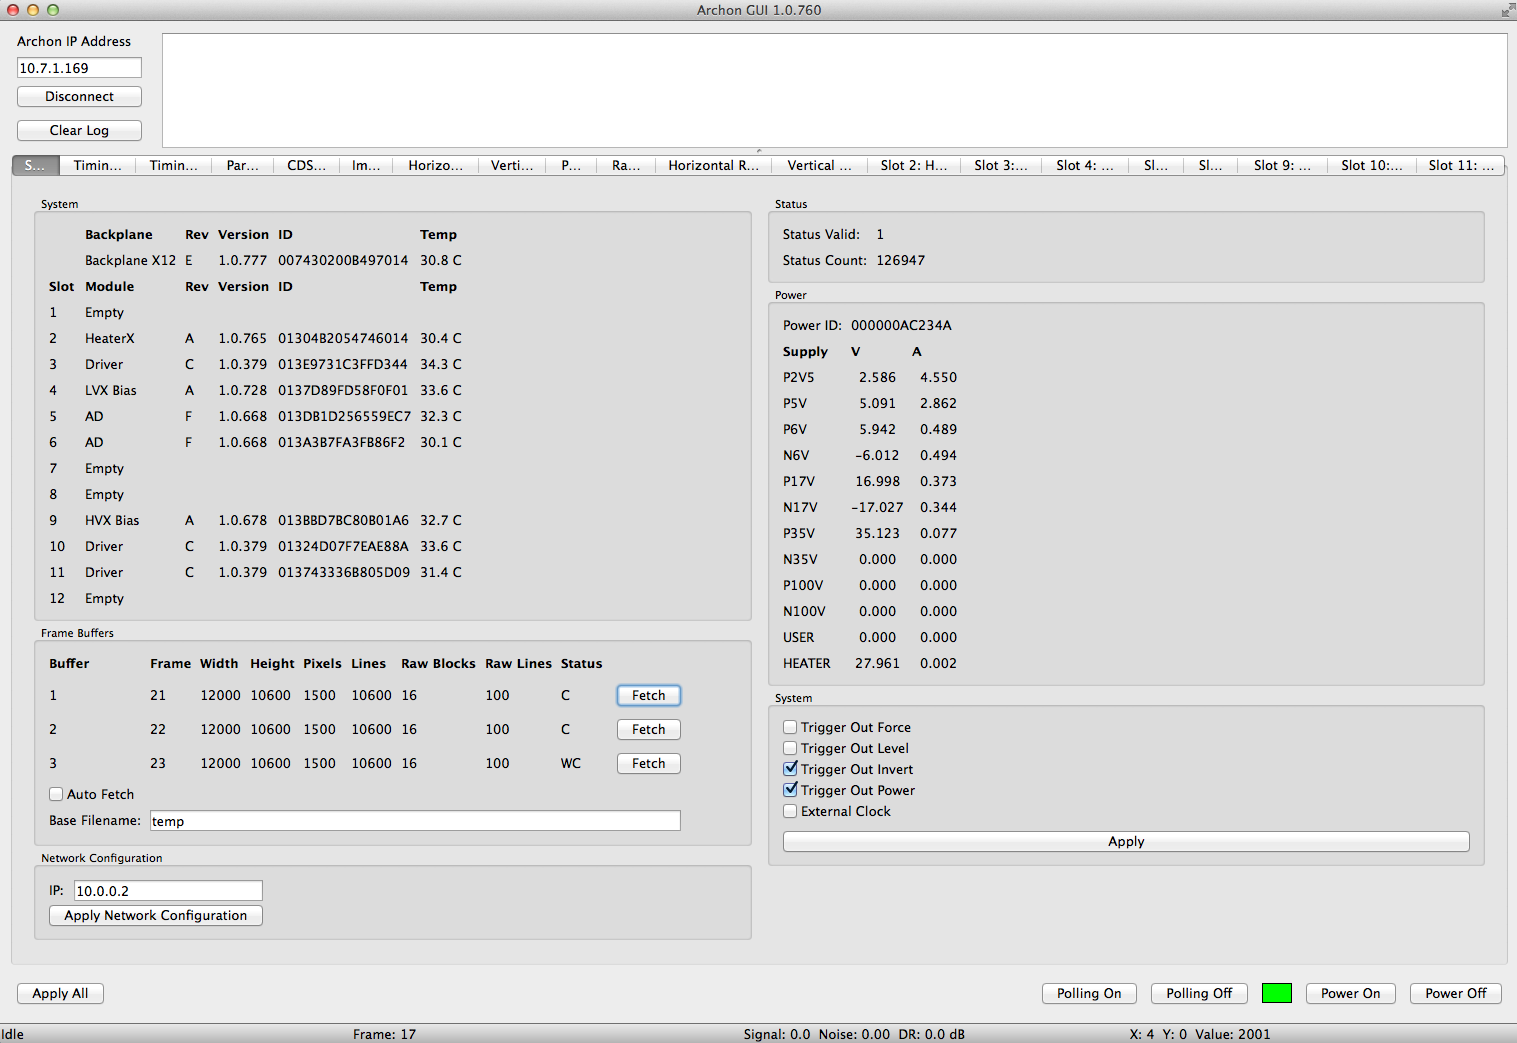
- Enter 10.7.1.169 into the Archon IP Address edit and click
the Connect button.
- Enter the new IP number (200.28.147.191 or .192) into the
Network Configuration IP edit box and click the
Apply Network Configuration button.
- The archongui will complain because it lost the connection
- Do not power cycle the Archon controller
- Click the Disconnect button enter the new IP number
- Change your laptop to the 200.x.x.x network
- Enter the new IP number (200.28.147.191 or .192) intoArchon IP Address
edit and click the Connect button.
- Select the System-FlashActiveConfig main menu entry.
- Power cycle the Archon controller and verify that you can connect.
Repeat these steps for the other Archon controller (using the
appropriate IP address).