ZWO-Guider Computer Setup
The Observatories of the Carnegie Institution for Science (Carnegie Observatories), Pasadena, CA
Christoph C. Birk (birk AT carnegiescience DOT edu)
The Observatories of the Carnegie Institution for Science (Carnegie Observatories), Pasadena, CA
Christoph C. Birk (birk AT carnegiescience DOT edu)
Location of this document: http://instrumentation.obs.carnegiescience.edu/Software/ZWO/Setup/setup.html
| MAC# | arch | cpuinfo | meminfo | Linux version | Status |
| e4:5f:01:5f:c4:02 | aarch64 | 4 cores: rPi 4 Model B Rev 1.4 | 3882992 kB | Linux 6.6.51+rpt-rpi-v8 (Debian) | SBS (lab-pi-01) |
| e4:5f:01:5f:c5:c2 | aarch64 | 4 cores: rPi 4 Model B Rev 1.4 | 3883060 kB | Linux 6.6.31+rpt-rpi-v8 (Debian) | SBS (lab-pi-02) |
| e4:5f:01:69:1f:b5 | armv7l | 4 cores: ARMv7 Processor rev 3 (v7l) | 3931056 kB | PiOS: 5.15.32-v7l+ | LCO |
| e4:5f:01:80:a5:13 | armv7l | 4 cores: ARMv7 Processor rev 3 (v7l) | 3931056 kB | PiOS: 5.15.32-v7l+ | LCO |
| dc:a6:32:88:00:c3 | aarch64 | 4 cores: ARMV8 (BCM2835) | 3885396 kB | Linux-6.1.21-v8+ (Ubuntu) | LCO/G2019 |
| dc:a6:32:88:01:c8 | aarch64 | 4 cores: ARMV8 (BCM2835) | 3885396 kB | Linux-6.1.21-v8+ (Ubuntu) | LCO/G2019 |
| e4:5f:01:7a:46:32 | aarch64 | 4 cores: ARMV8 (BCM2835) | 3884240 kB | Linux-6.1.0-rpi4-rpi-v8 (Debian) | LCO/PFS |
| d8:3a:dd:5b:4c:49 | aarch64 | 4 cores: ARMV8 (BCM2835) | 3884240 kB | Linux-6.1.0-rpi4-rpi-v8 (Debian) | LCO/PFS |
| e4:5f:01:8a:1e:44 | aarch64 | 4 cores: ARMV8 (BCM2835) | 3884240 kB | Linux-6.1.0-rpi4-rpi-v8 (Debian) | LCO/PFS |
| d8:3a:dd:7c:d8:22 | aarch64 | 4 cores: ARMV8 (BCM2835) | 3884240 kB | Linux-6.1.0-rpi4-rpi-v8 (Debian) | SBS/MIKE |
| e4:5f:01:7c:d8:c4 | aarch64 | 4 cores: ARMV8 (BCM2835) | 3884240 kB | Linux-6.1.0-rpi4-rpi-v8 (Debian) | SBS/MIKE |
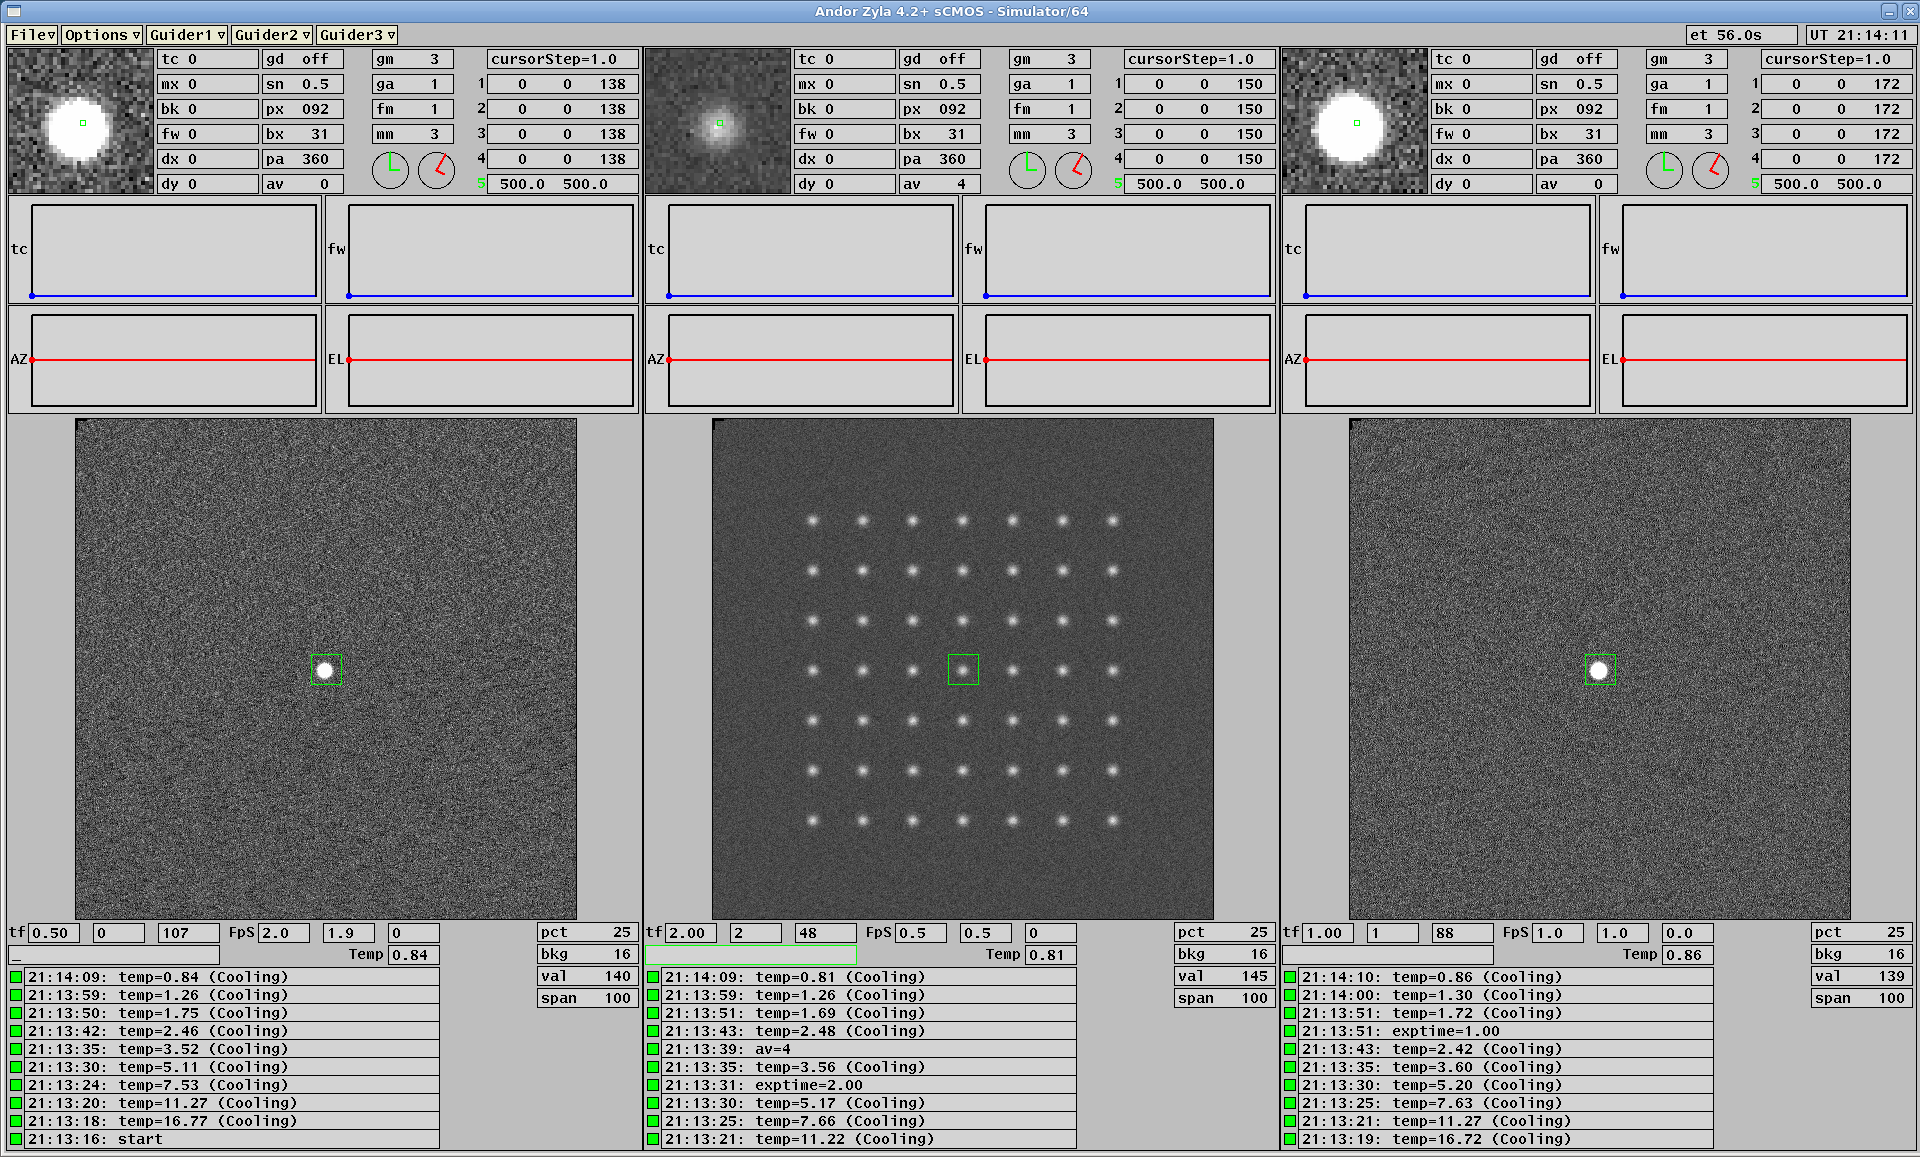
Temperature profile with rPi-board in box with heatsinks installed (vcgencmd measure_temp):
| Exposure [s] | Frame-Rate [Hz] | CPU [%] | Temperature [C] |
| idle | 0 | 0 | 58 |
| 2 | 0.5 | 4 | 59 |
| 0.5 | 2 | 9 | 63 |
| 0.2 | 5 | 19 | 67 |
| 0.1 | 10 | 32 | 71 |
| 0.05 | 13 (670 Mb/s) | 72 | 76 |
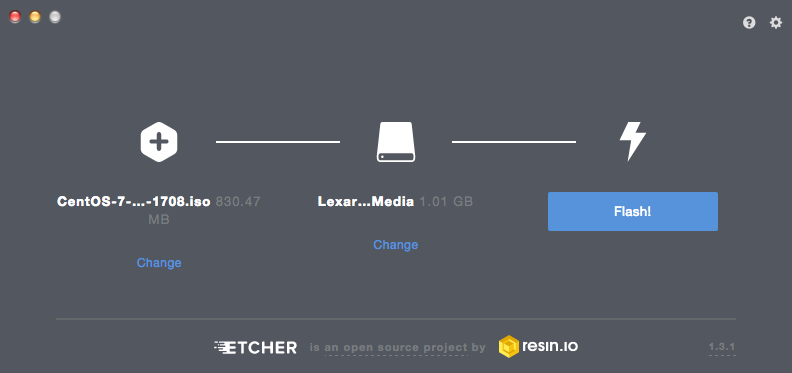
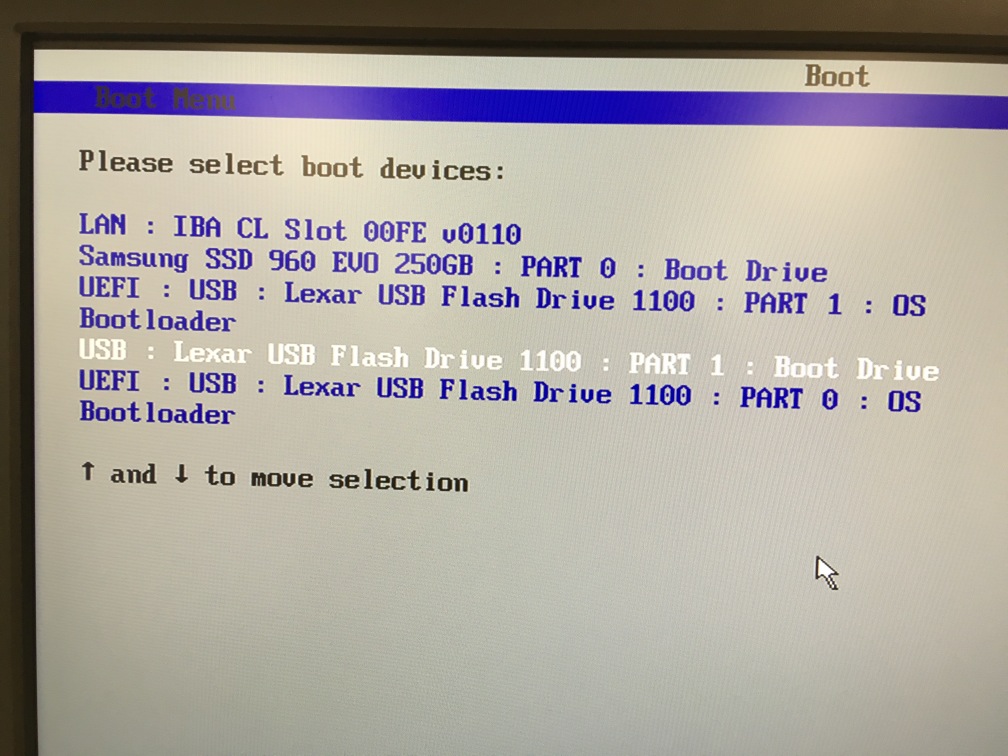
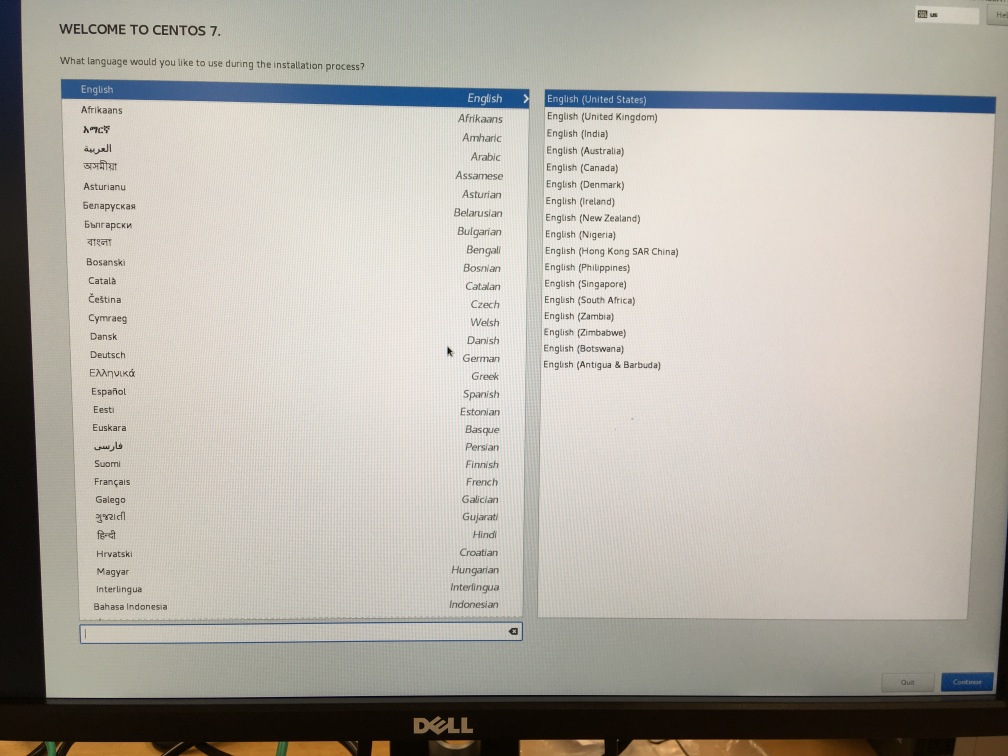
Steps:


2021-11-09, Christoph C. Birk, Carnegie Observatories