Andor Guider Computer Setup
The Observatories of the Carnegie Institution for Science
(Carnegie Observatories), Pasadena, CA
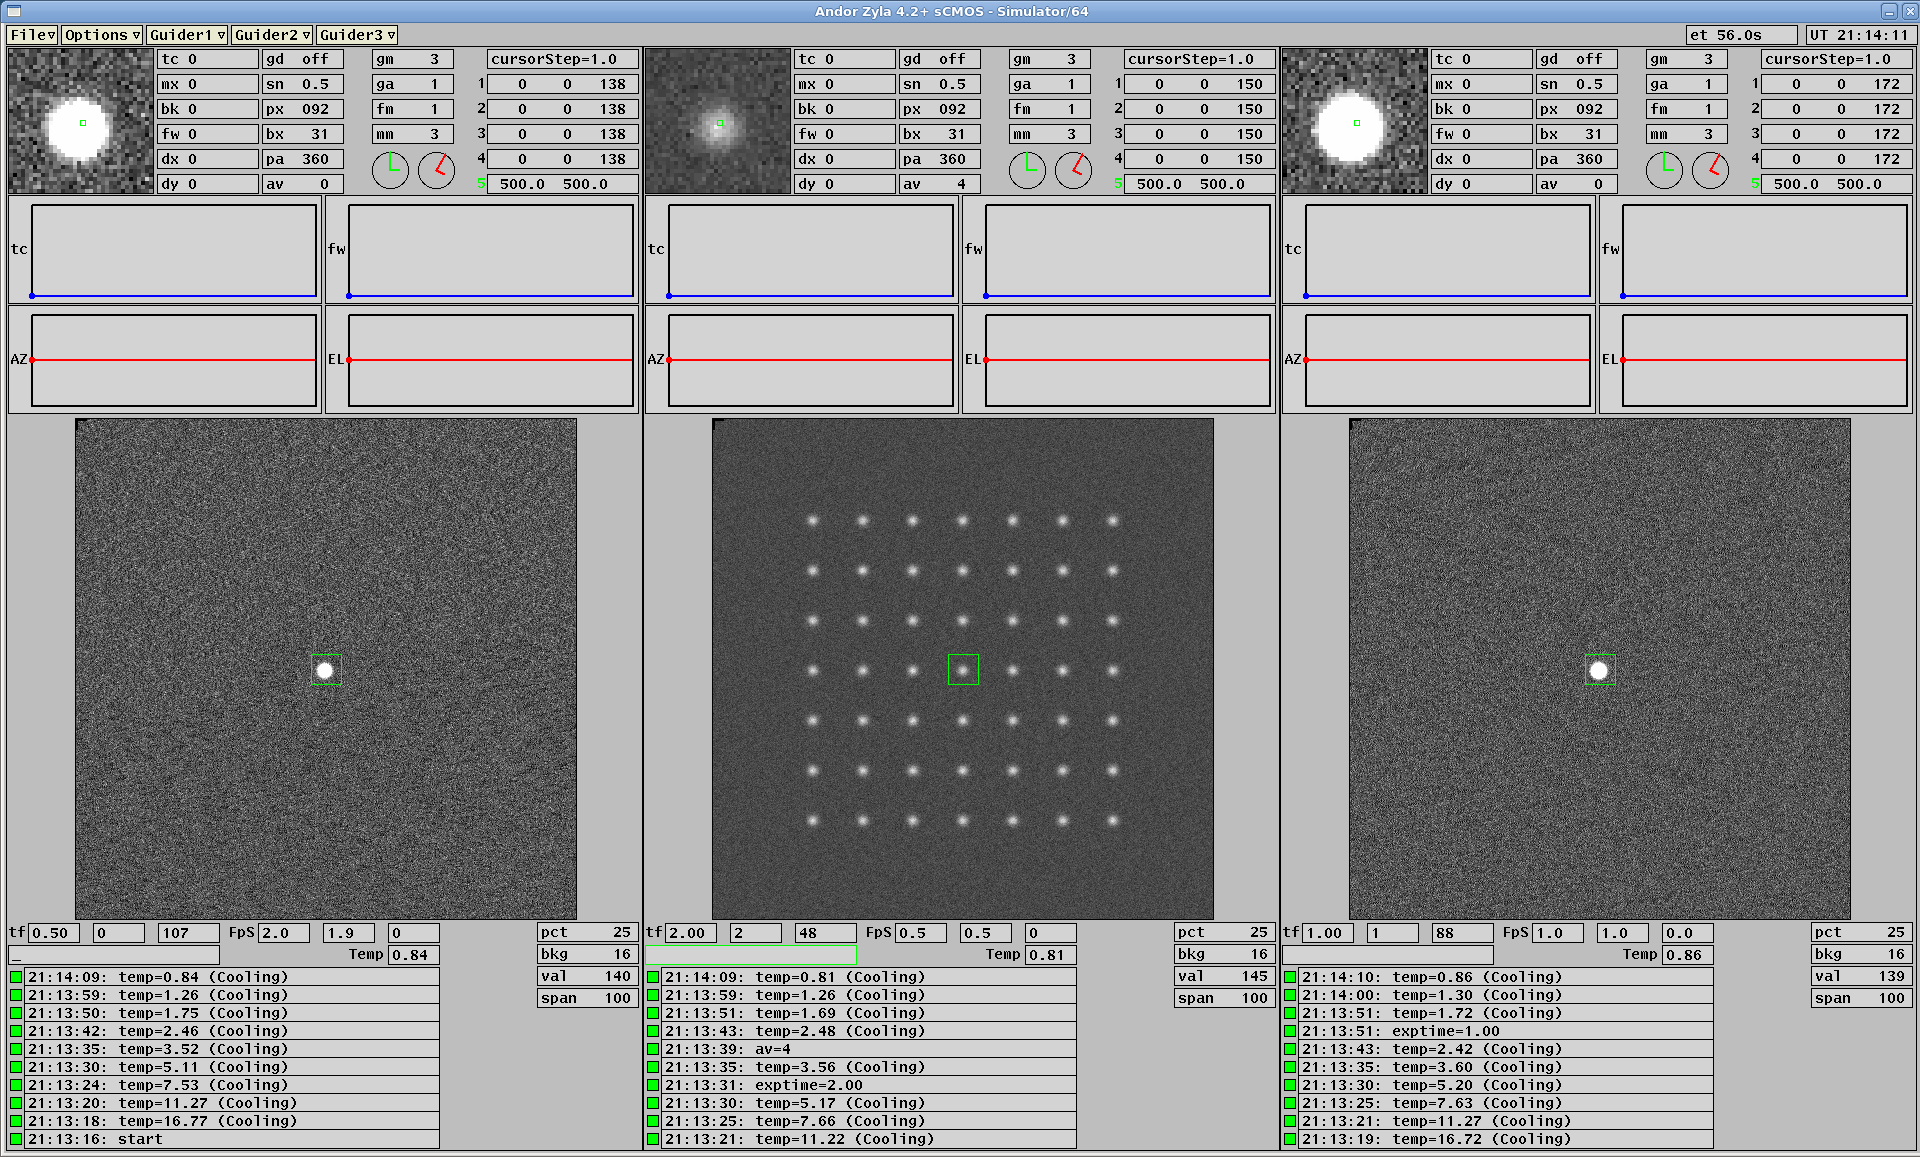
MIKE SlitViewer at the Clay telescope
Christoph C. Birk (birk AT carnegiescience DOT edu)
Location of this document:
http://instrumentation.obs.carnegiescience.edu/Software/Andor/Setup/setup.html
HowTo make a bootable USB drive
HowTo setup the MinnowBoard
HowTo setup the NUC
Open the firewall on the NUC
Add the andorserver as a systemd service
HowTo clone the SD card (very slow)
Bootable USB drive
- Startup "diskutil" (macOS)
format USB drive as "MS-DOS (FAT)"
- Download the "CentOS" ISO
( https://www.centos.org/download/ )
NUC: "DVD ISO" (4.6 GB)
Minnow: "Minimal" ISO (0.84 GB)
Note: The "DVD ISO" can be used to install the "Minimal" version on
the MinnowBoard; there is no need to keep two USB drives.
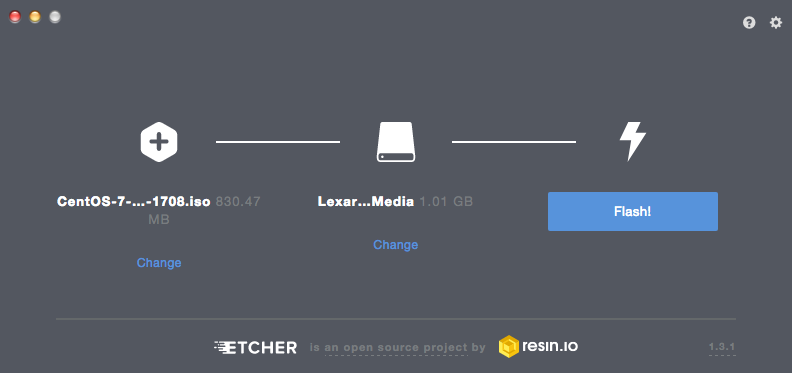
- Create a bootable USB drive via Etcher
( https://etcher.io/ )
MinnowBoard Setup
Specifications: Dual Core "Intel Atom E3826", 1.46 GHz, 2 GB RAM (USB3, Gb-ethernet)
Minnow: 3.5 W (under load)
Andor: 12 W (idle), 42 W (peak/cooling), 22 W (stable running)
Requirements:
- 8+GB microSD card; the ("Minimal") installation takes about 2 GB.
- During installation: USB hub (top port) to accomodate keyboard, mouse and the USB install
media (bottom port).
Steps:
- Find the MAC-Address
- Install CentOS-7 ("Minimal")
- Update and install additional packages
- Install the Andor Driver
- Install the Andor Server
1) Find the MAC-Address
- Boot into the BIOS (press "F2" after power-up)
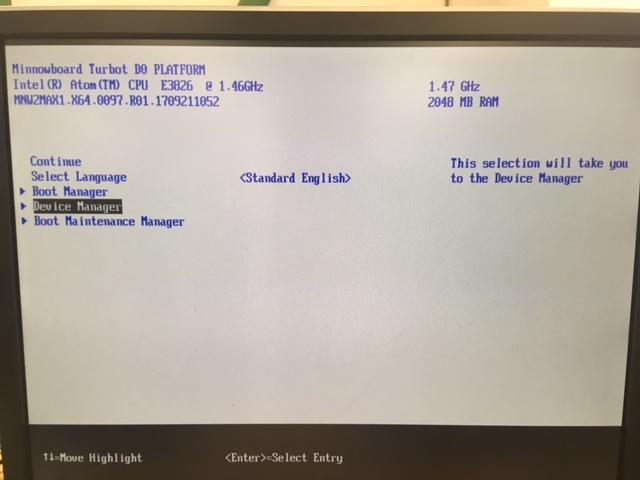
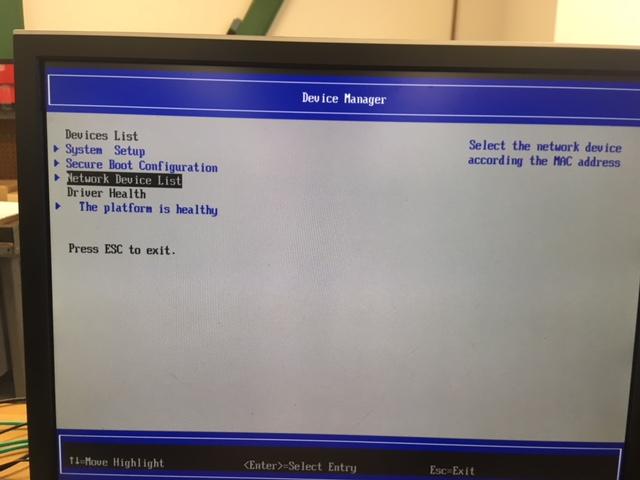

- Select Device Manager
- Select Network Device List
2) Install CentOS ("Minimal") -- no X11
- Insert the bootable USB drive into the MinnowBoard,
power it up and press "F2"
- Select "Boot Manager" and then "EFI USB Device"
- Select Test this media & and install CentOS 7
- Select English (United States)
- Set the timezone: "Los Angeles" or "Santiago" -- Network time "Off"
- Software Selection: "Minimal"
- Installation Destination:
Select "I would like to make additional space available" when re-using a
microSD card and
Select "Delete All" if over-writing an existing installation.
- Network: "on", set hostname "minnowXX"
- Click on "Begin Installation" (~40 minutes)
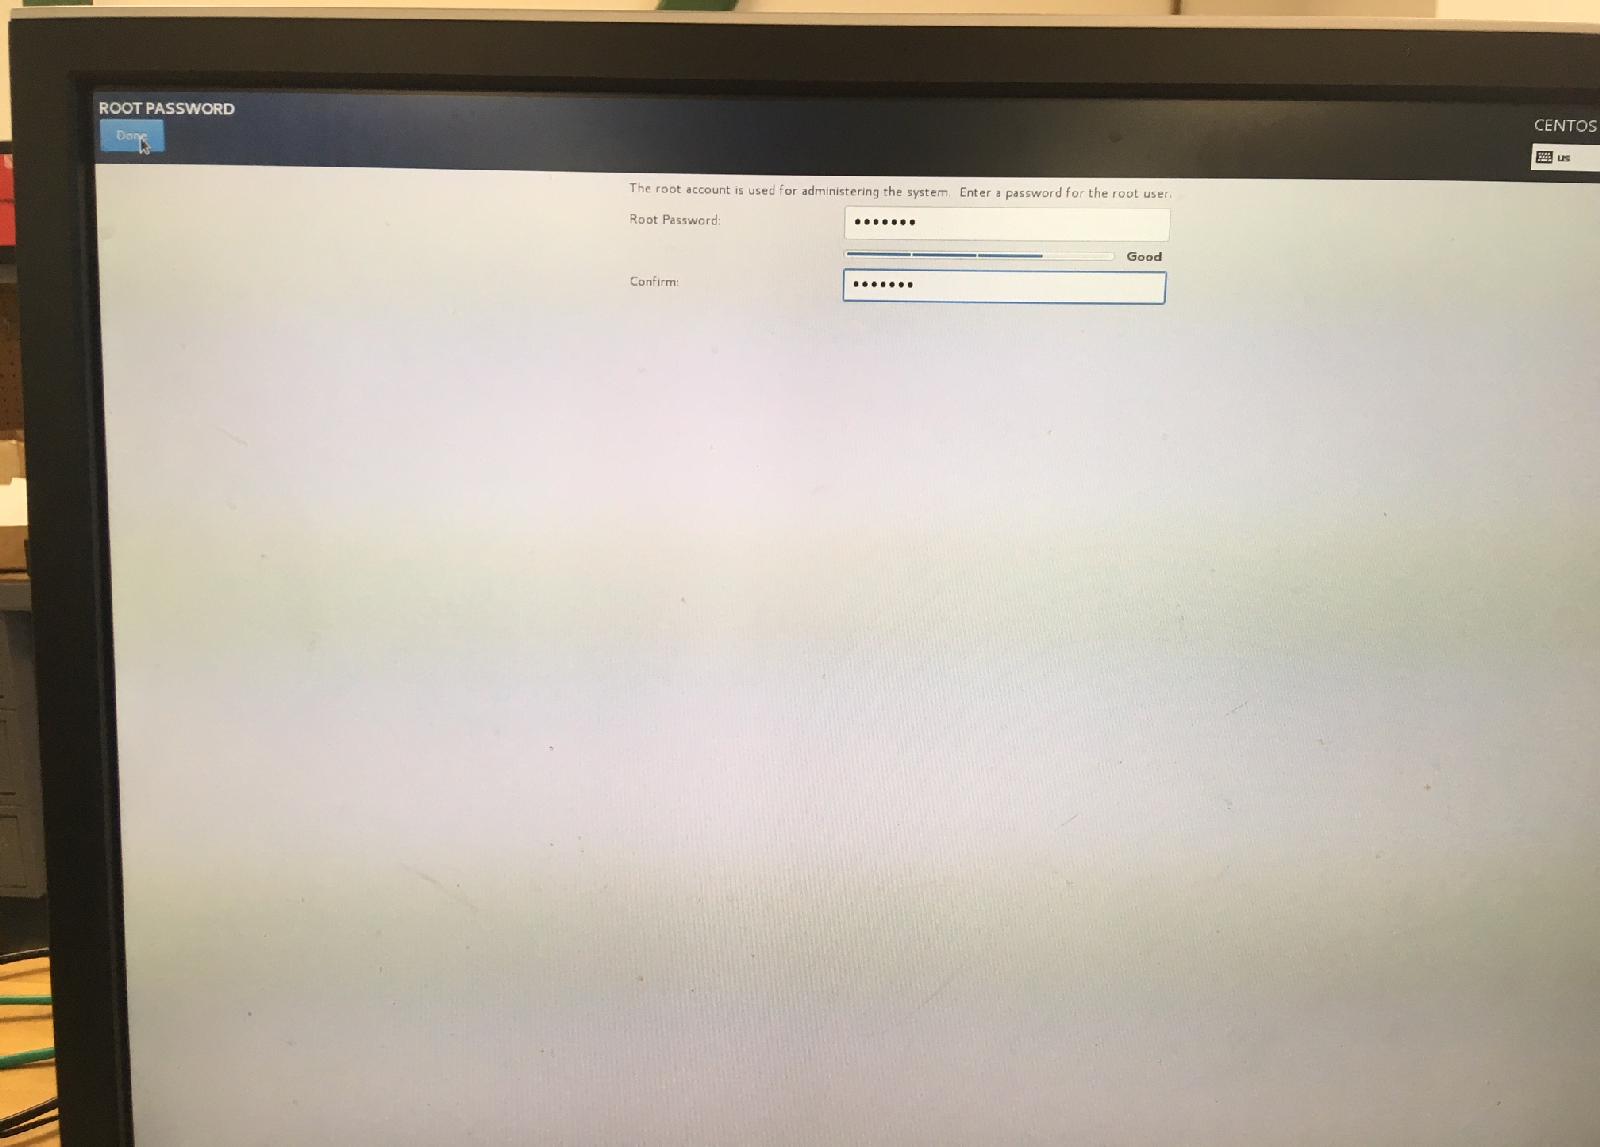
- Root: password XXXXXXX
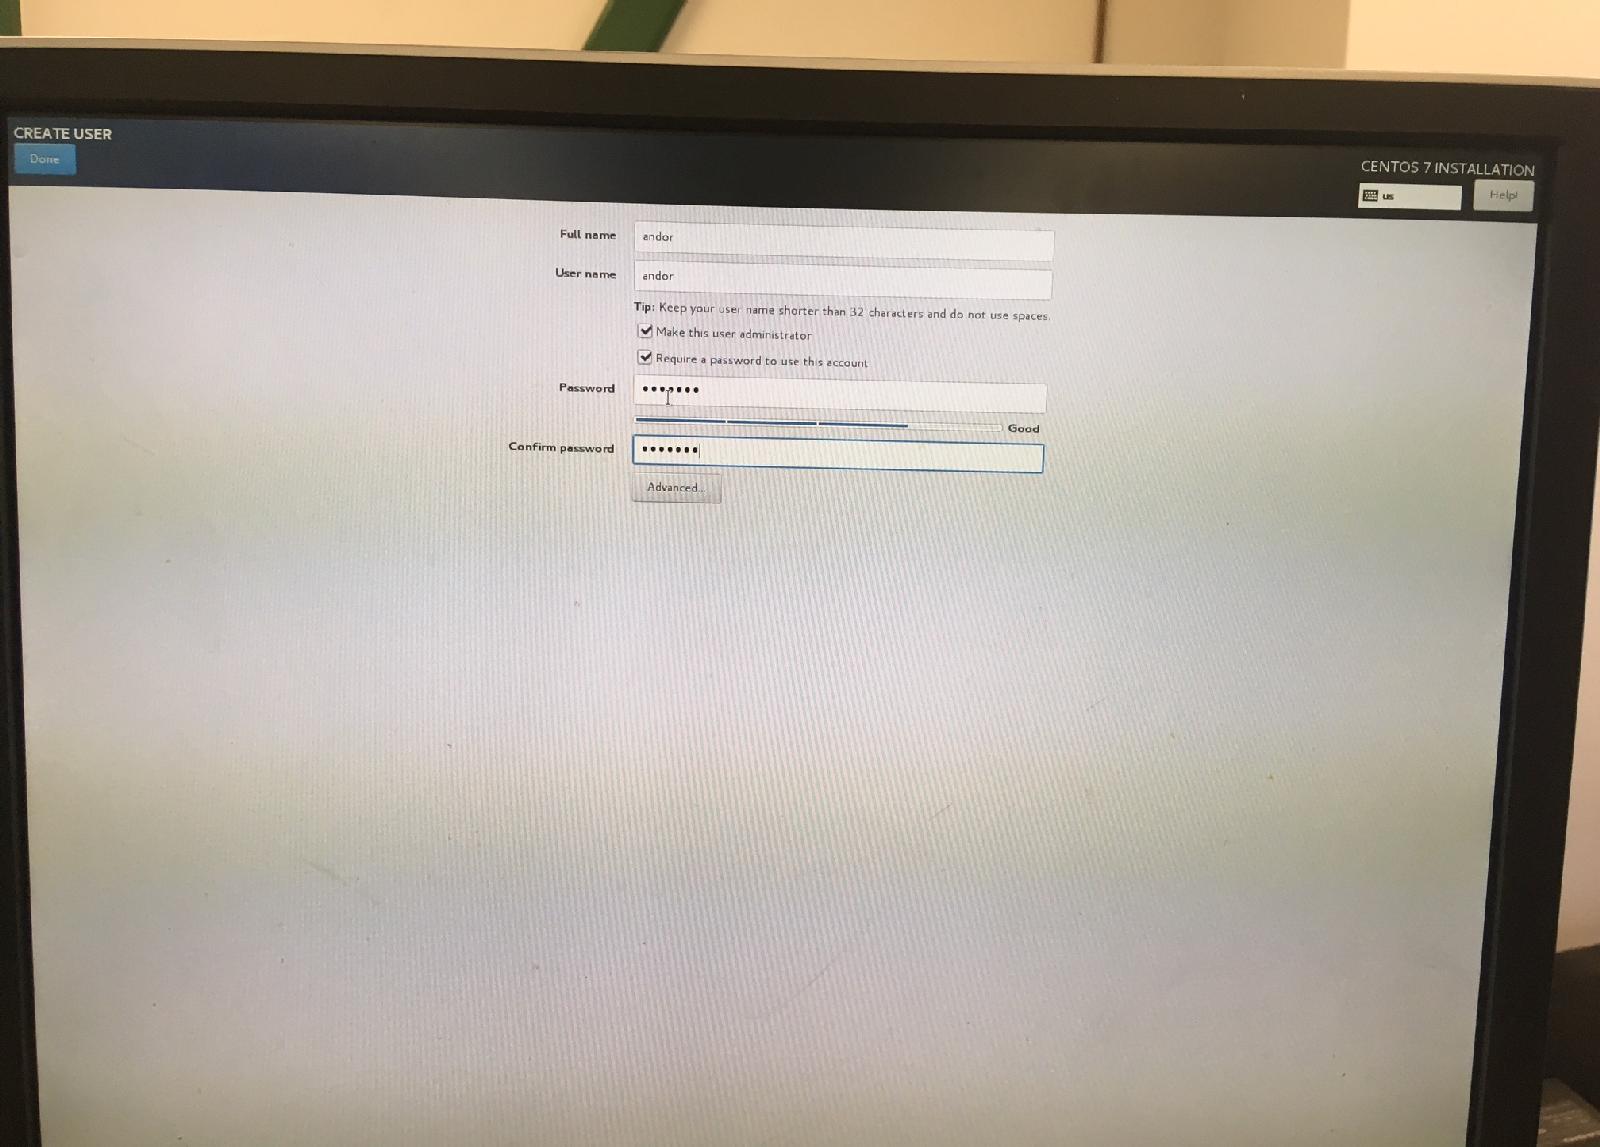
- User: "andor", password: same as 'root' (+"Admin" privileges)
- After installation: reboot, remove USB
- Wait for "dracut/gzip" process (top/load < 0.05)
- Run "nmtui" to enable the ethernet interface (if necessary)
enable auto connect for interface enp3s0
https://lintut.com/how-to-setup-network-after-rhelcentos-7-minimal-installation/
3) Update and install additional packages
- sudo yum update -y (~85 minutes)
- reboot to start the latest kernel
- sudo yum install epel-release -y
- sudo yum groupinstall "Development Tools" -y (~28 minutes)
- sudo yum install kernel-devel -y (~6 minutes)
- sudo yum install usbutils -y
- sudo yum install ntpdate -y
systemctl start ntpdate
systemctl enable ntpdate
Note: use ntpd once ntpdate disappears.
- sudo -e /etc/anacrontab
--> START_HOURS_RANGE=9-15
- Disable the firewall to allow incoming connections
systemctl stop firewalld
systemctl disable firewalld
4) Install the Andor Driver
TODO: I am not sure if I can legally put a link to the Andor driver here.
Please send an email to "birk AT carnegiescience DOT edu" to request
the driver source code archive.
- sudo cp andor-sdk3-3.13.30034.0.tgz /usr/local
- cd /usr/local
- sudo tar xf andor-sdk3-3.13.30034.0.tgz
- cd andor
Check the kernel release:
- uname -r
ensure that the output of "uname -r" is in /usr/src/kernels
- sudo ./install_andor
answer y,n to the questions (we don't use the bitflow driver)
make sure that there are no error messages during the installation
since the script will always print "installation successful".
- ldconfig -p | grep usb
should show libusb (>= v1.0) and libatusb (>= v3.13)
[andor@minnow03 andor]$ ldconfig -p | grep usb
        libusb-1.0.so.0 (libc6,x86-64) => /lib64/libusb-1.0.so.0
        libatusb_libusb10.so.3.13.30034.0 (libc6,x86-64) => /usr/local/lib/libatusb_libusb10.so.3.13.30034.0
        libatusb_libusb10.so (libc6,x86-64) => /usr/local/lib/libatusb_libusb10.so
5) Install the Andor Server
- copy andor-vvvv.tar.gz into the directory $HOME/Andor
- tar xf andor-vvvv.tar
- make andorserver
- create /etc/systemd/system/andor.service
sudo cp andor.service /etc/systemd/system/
systemctl daemon-reload
systemctl start andor
systemctl status andor
systemctl enable andor
NUC Setup
Specifications:
nuc01..03: Dual Core (4 Threads) "Intel i5-7260U", 2.2 GHz, 8 GB RAM,
256 GB SSD, 13 (10) Watts
nuc04..04: Quad Core (8 Threads) "Intel i5-8259U", 2.3 GHz, 16 GB RAM,
512 GB SSD, 10 (8) Watts
Steps:
- Install CentOS-7 ("DVD")
- Update and install additional packages
- Install CXT (X11 Toolkit)
- Install Andor software
(AndorGUI and AndorServer/Driver for the "hybrid" version)
- Integration into the Magellan Environment
1) Install CentOS-7 (DVD-Distribution)
- Insert the bootable USB drive into the
NUC, power it up and press "F10"

- Select USB
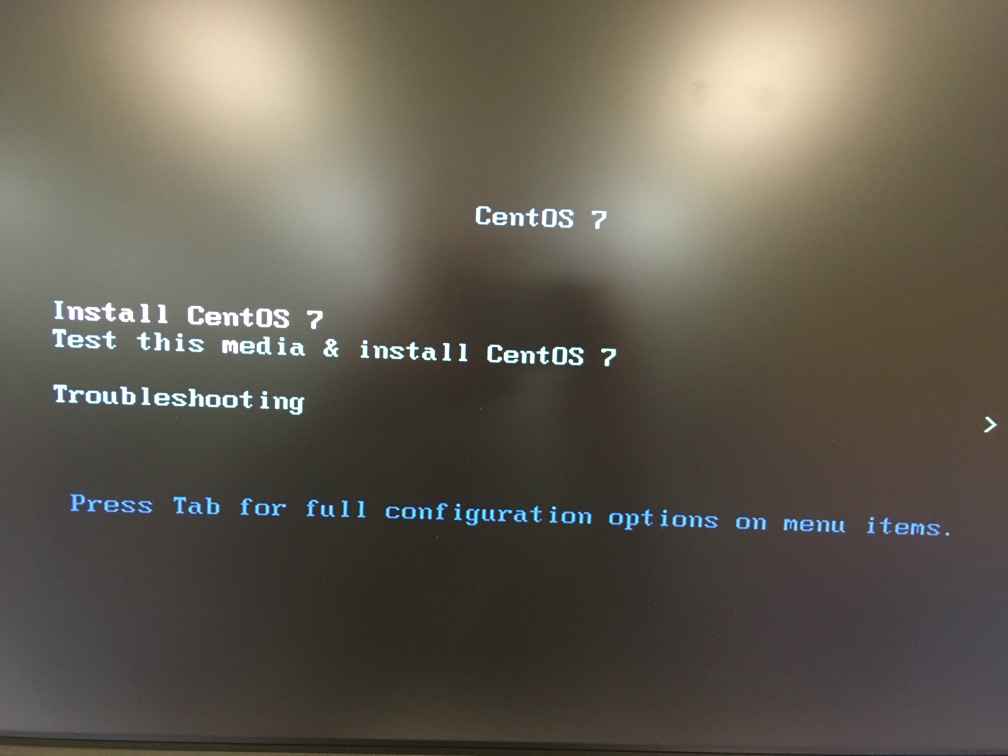
- Select Test this media & and install CentOS 7
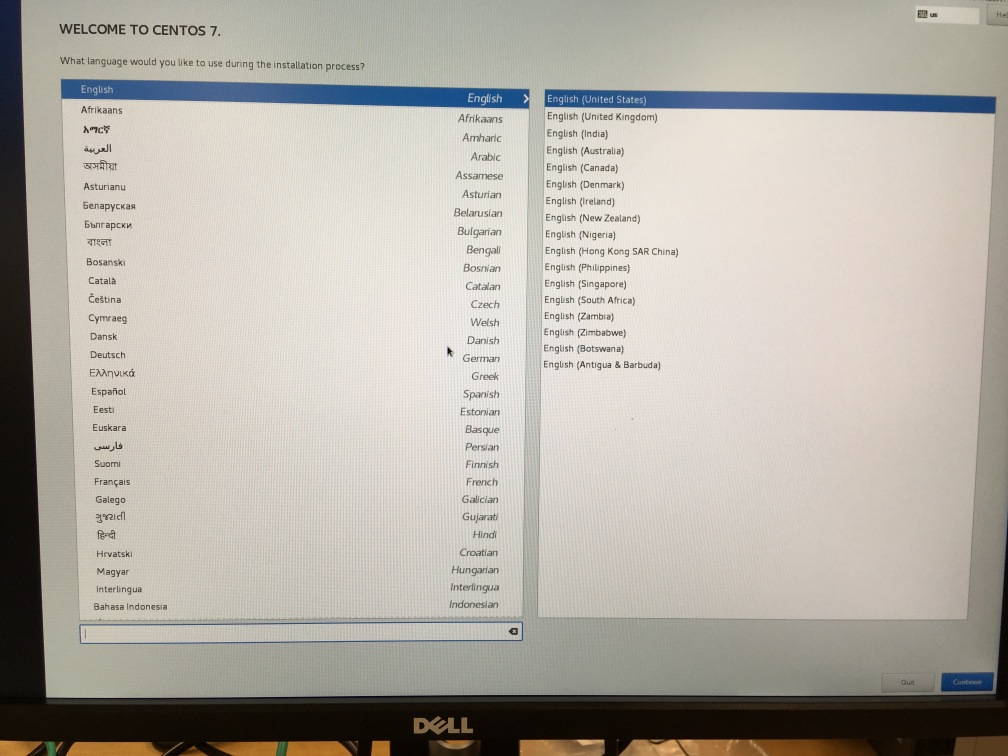
- Select English (United States)
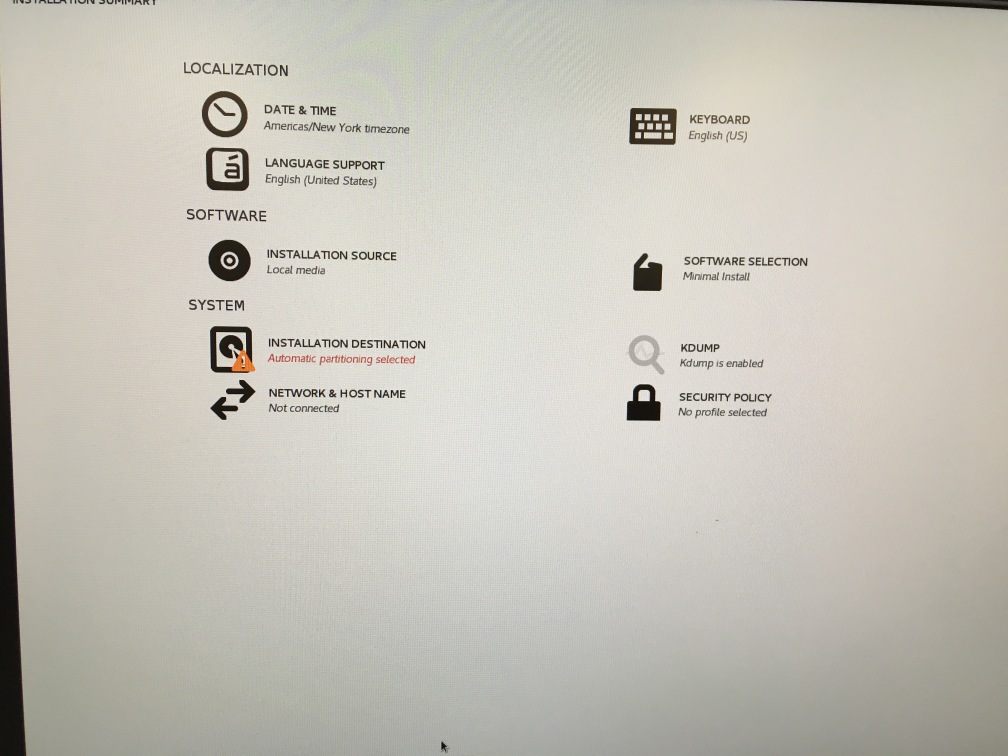

- Date & Time: Set the timezone "Los Angeles" or "Santiago" -- Network time "On"
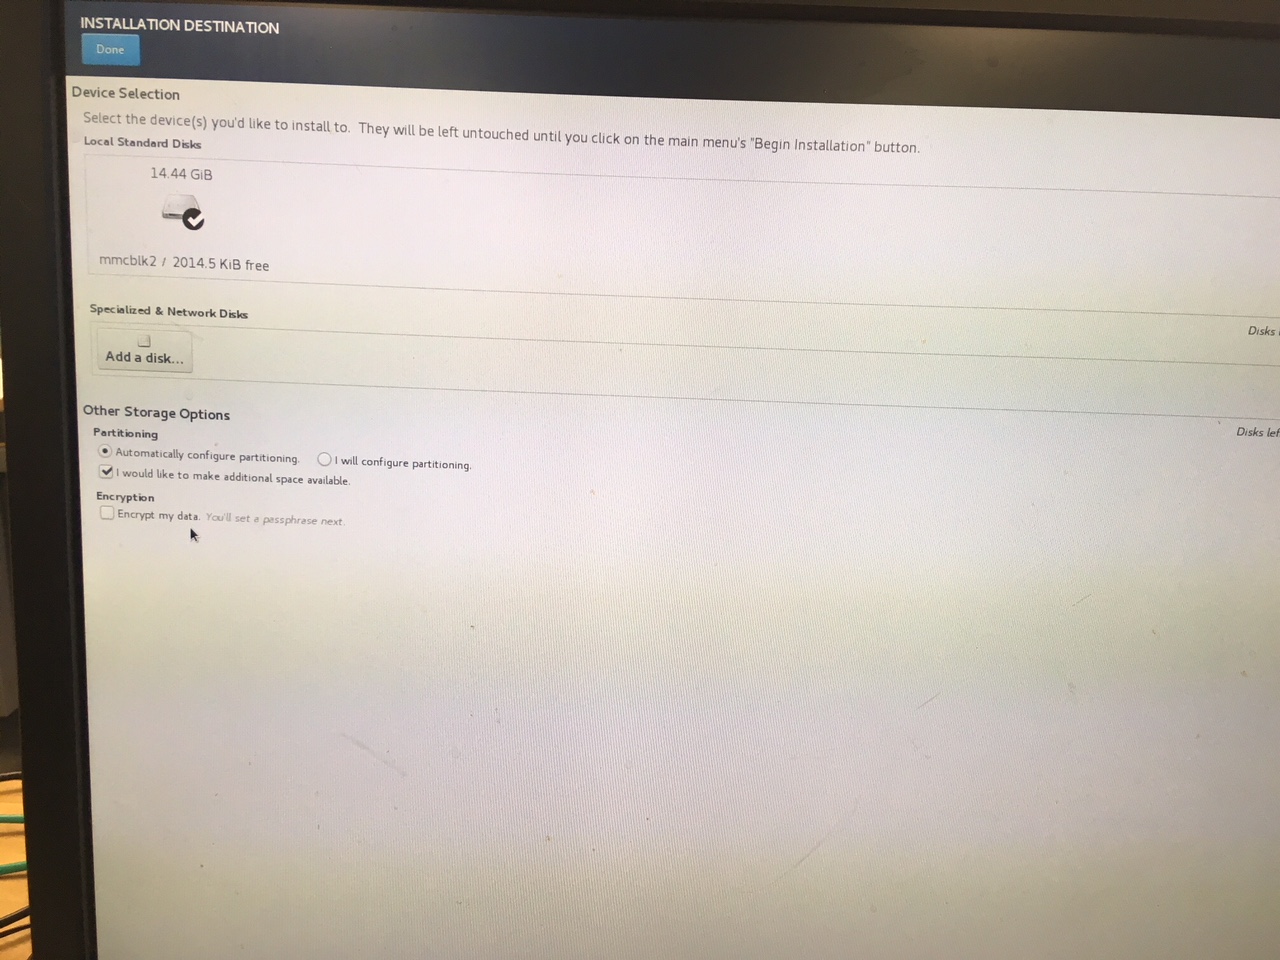
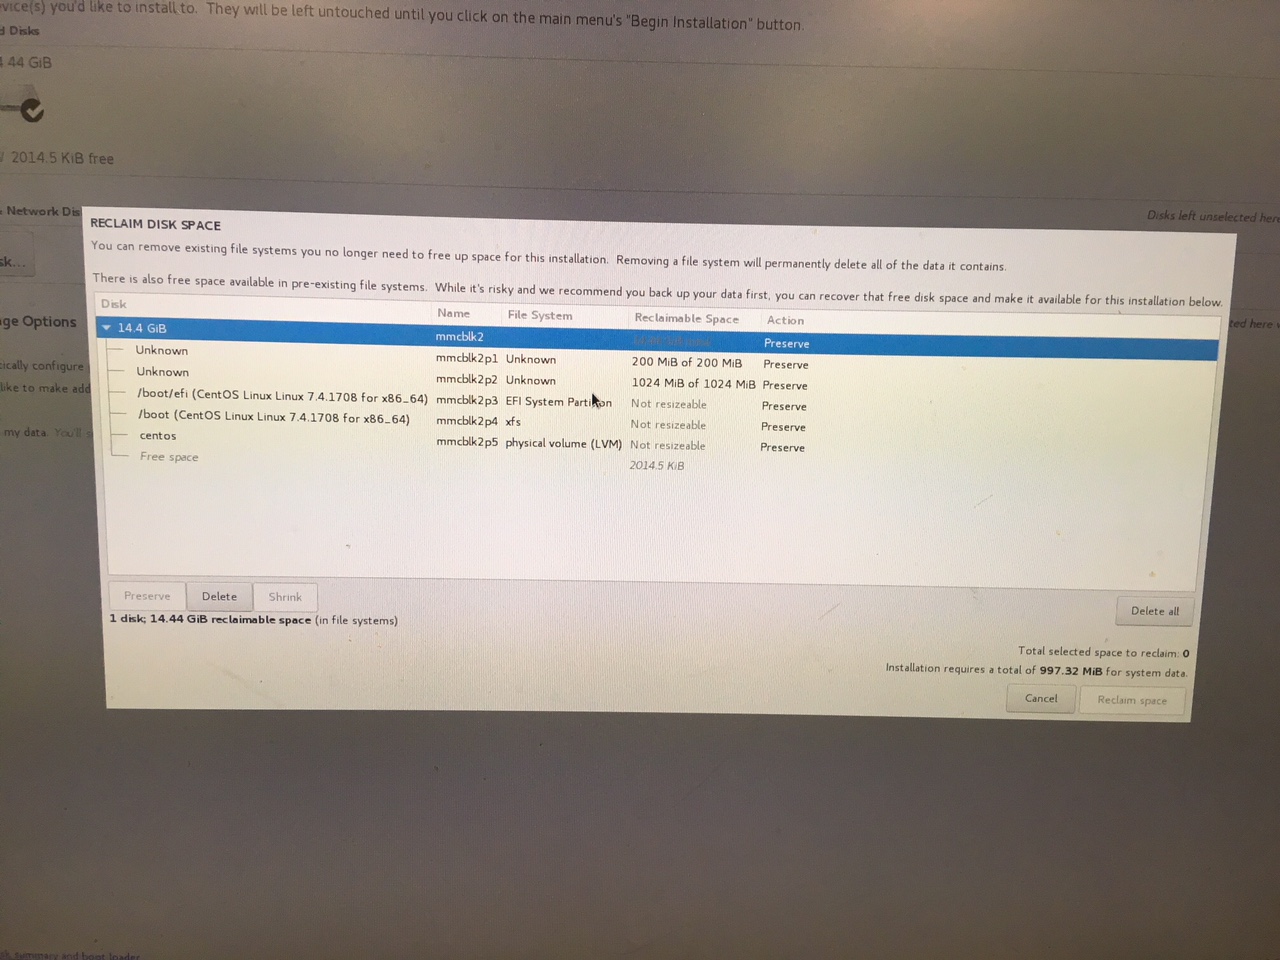
- Installation Destination:
Select "I would like to make additional space available" and
Select "Delete All" if over-writing an existing installation.
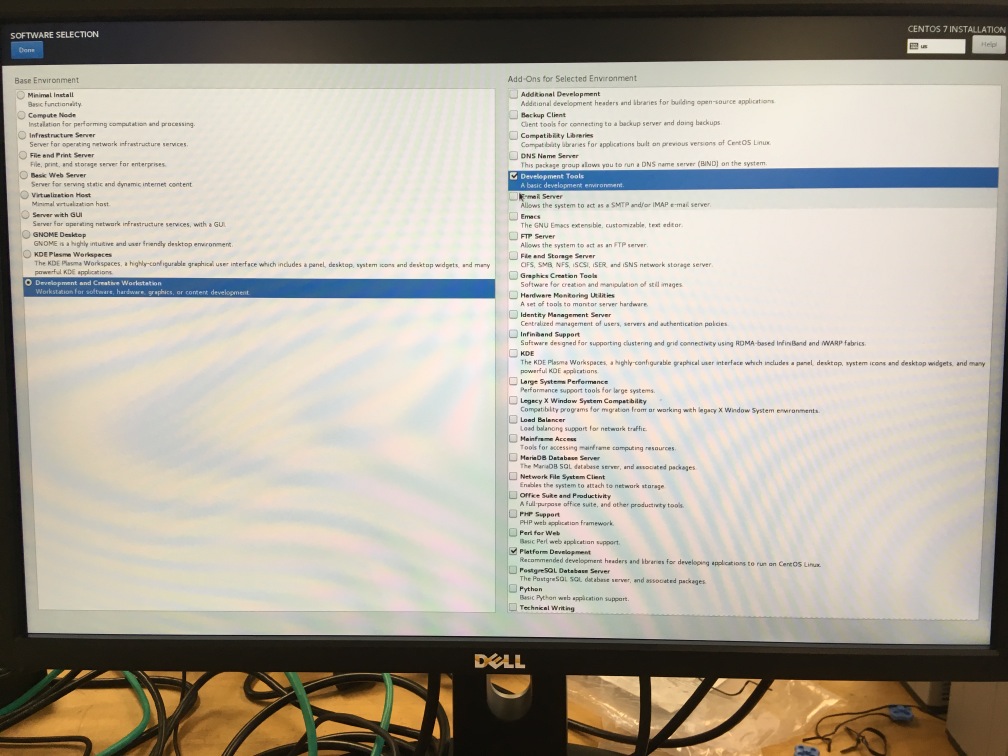
- Software Selection: "Development Workstation" + "Development Tools" + "Platform Development"
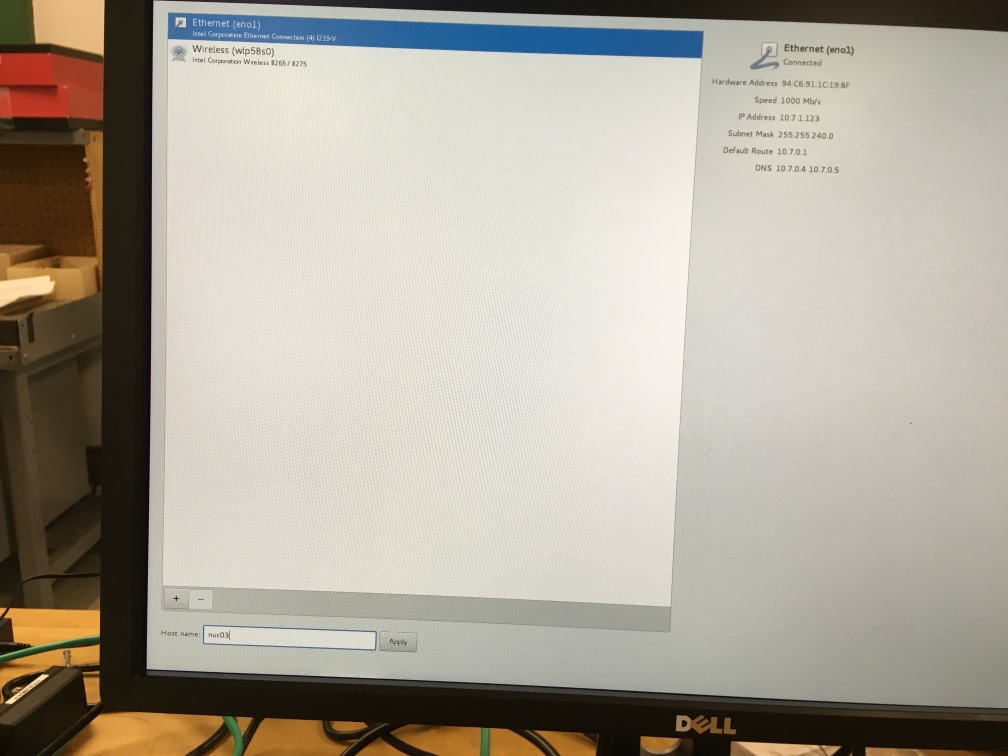
- Network: "on", set hostname "nucXX"
- Click on "Begin Installation"
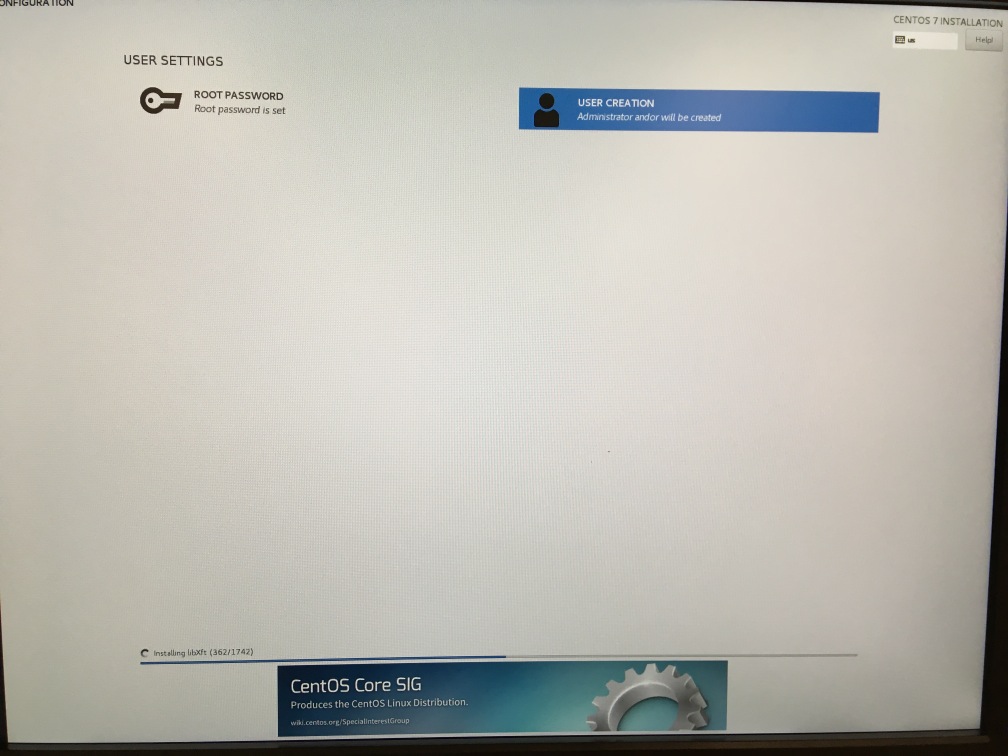
- Root: password XXXXXXX
- User: "andor", password: same as 'root' (+"Admin" privileges)
- After installation: reboot, remove USB
First Login:
- Accept license
- Set hostname/network (if not done earlier)
- Set language: English
- Typing: English/US
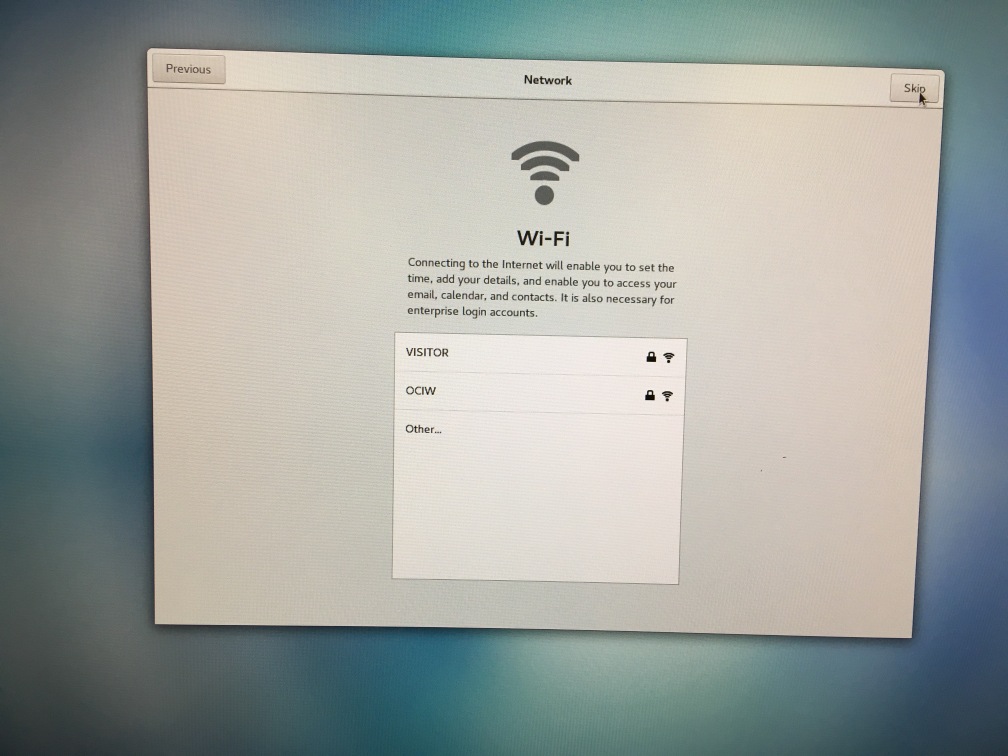
- Disable Wi-Fi
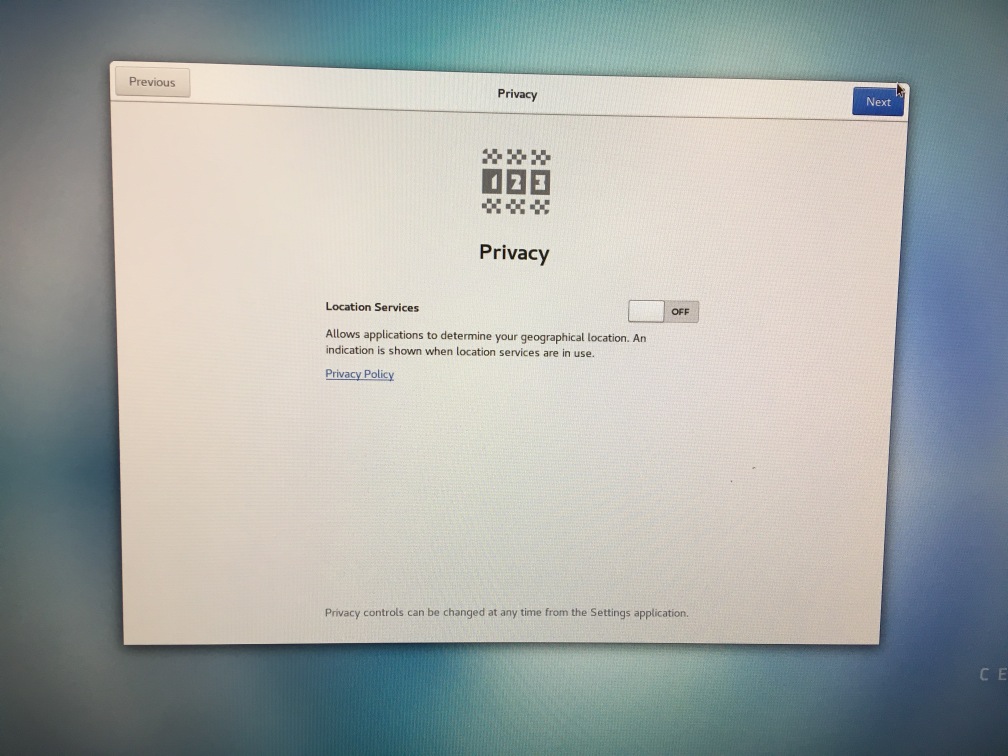
- Disable Location Services
- Skip "Accounts Setup"
2) Update and install additional packages
I recommend waiting a few minutes before updating the system, because
the "yumBackend" might be running for a while after the first startup.
The Update is necessary because the default installation does
not install the proper kernel sources. These are required to build the
Andor driver.
- sudo yum update -y
- sudo yum install epel-release -y
- sudo yum groupinstall "MATE Desktop" -y
- logout and login
- Select the MATE desktop
- Delete the bottom Panel (rightClick--delete)
- Add "Window List" to the top Panel (rightClick--AddToPanel--WindowList)
- sudo yum install xorg-x11-fonts-75dpi -y
3) Install CXT (X11 Toolkit)
- copy cxt.tar.gz into the directory $HOME
- tar xf cxt.tar.gz
- cd CXT
- make
- ln -s libcxt.a libcxt64.a
4a) Install the Andor Driver
TODO: I am not sure if I can legally put a link to the Andor driver here.
Please send an email to "birk AT carnegiescience DOT edu" to request
the driver source code archive.
- sudo cp andor-sdk3-3.13.30034.0.tgz /usr/local
- cd /usr/local
- sudo tar xf andor-sdk3-3.13.30034.0.tgz
- cd andor
Check the kernel release:
- uname -r
ensure that the output of "uname -r" is in /usr/src/kernels
(3.10.0-862.11.6.el7.x86_64)
- sudo ./install_andor
answer y,n to the questions (we don't use the bitflow driver)
make sure that there are no error messages during the installation
since the script will always print "installation successful".
- ldconfig -p | grep usb
should show libusb (>= v1.0) and libatusb (>= v3.13)
[andor@minnow03 andor]$ ldconfig -p | grep usb
        libusb-1.0.so.0 (libc6,x86-64) => /lib64/libusb-1.0.so.0
        libatusb_libusb10.so.3.13.30034.0 (libc6,x86-64) => /usr/local/lib/libatusb_libusb10.so.3.13.30034.0
        libatusb_libusb10.so (libc6,x86-64) => /usr/local/lib/libatusb_libusb10.so
4b) Install AndorGUI/Server
- copy andor-vvvv.tar.gz into the directory $HOME/Andor
- tar xf andor-vvvv.tar.gz
- cd src-vvvv
- make andor
- cd $HOME
- ln -s Andor/src-vvvv/andorgui
- ln -s Andor/src-vvvv/andorserver
- open the firewall on port 52211
select on the main menu: System--Administration--Firewall
then press "+Add" and enter the port number range
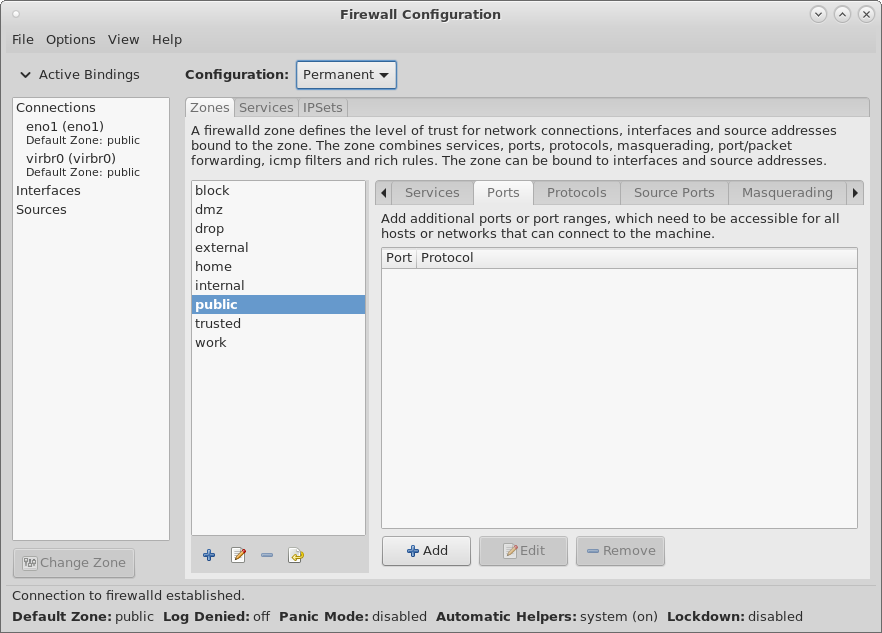

If you changed the Permanent configuration -- please reboot
If you changed the Runtime configuration --
select Options and then Runtime To Permanent
- add the andorserver as a systemd service:
create /etc/systemd/system/andor.service
sudo cp andor.service /etc/systemd/system/
systemctl daemon-reload
systemctl start andor
systemctl status andor
systemctl enable andor
5) Integration into the Magellan Environment
- Update the DHCP server at LCO to provide an
IP number to the new NUC.
It is necssary to provide the same number
each time the NUC boots, since some components of the
Magellan control system (eg. TCSIS) rely on whitelists
of IP numbers to enable access it their services.
- Update the whitelist at the TCSIS to allow the
NUC to receive status information and send telescope offsets.
2018-06-20,
Christoph C. Birk, Carnegie Observatories